How to plant flower bulbs?
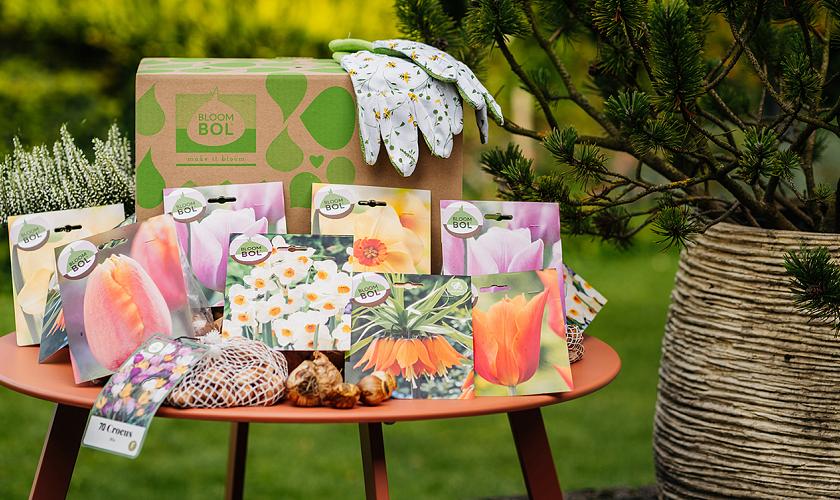
Bloombol has various packages with beautiful flower bulb mixes. In this planting instruction we will explain how to plant flower bulbs. Watch the instructional video or follow the steps below.
1. Open your Bloombol package immediately after you have received it
This way the bulbs get air and you can immediately see which varieties are packed in your package. It is best to plant the flower bulbs immediately upon receipt. If this does not work for you, then store the Bloombol box open in a dry and cool place, for example in the garage or cellar.
2. Prepare to plant the bulbs
Provide a shovel, gloves and a watering can or garden hose. These are for sale in various garden centres or DIY stores.
3. Mix the flower bulbs
You can plant the bulbs per variety (per bag). But for a natural effect it is nice to mix them up. You can use the Bloombol box for this; open the bags and throw all the bulbs in the box, put on the gloves and mix the bulbs together.
4. Find a place to plant your bulbs
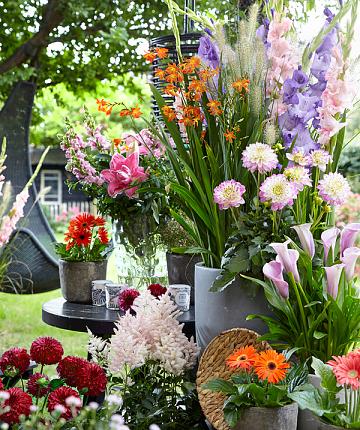
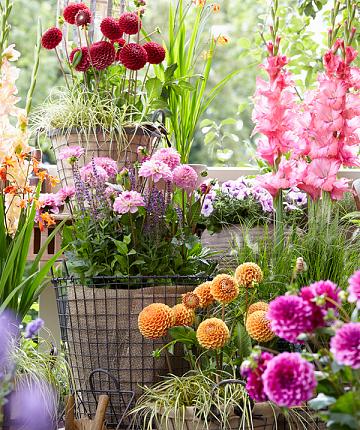
Flower bulbs can be planted almost anywhere in the garden, in the lawn, in the soil between other flowers or in a pot on the patio. *Tip: Fill a clog or old watering can with potting soil, and use it as an original container to plant your flower bulbs.
5. Prepare the garden or plot
Remove branches, old leaves or weeds and make room for the bulbs. Provide a nice piece of ground to dig a hole in. Do you plant in pots? Then clean it of old compost.
6. Planting the bulbs
Now it's time to plant the bulbs. Dig a hole in the desired patch of soil. How deep should the hole be? As a rule of thumb, three times the bulb size, but because there are different sizes in the package , we will stick to 10 cm. Then you will always be correct.
7. Sprinkle and distribute
Now gently sprinkle the flower bulbs into the hole. You often hear that the tips of the bulb should be raised, but according to our grower that is not necessary. The bulb is strong enough to grow upwards. Make sure you distribute the bulbs well by scattering them.
8. Replace the Soil and water
Throw the excavated soil back into place and pour some water over it with the watering can or garden hose so that the soil is moist.
9. Plant in a pot
Step one: Put a layer of hydro granules in the pot. Step two: Pour potting compost into the pot. Fill the pot to about 10 cm below the rim. Step three: Sprinkle the flower bulbs loosely in the pot and divide them. Step four: Cover the pot with more potting soil. Step Five: Spray the pot with water so that the soil is moist.
10. Have patience
From now on you have to be patient. In the spring the first green shoots will emerge and the first flowers will appear. From then on you can enjoy a colourful garden for three months.
